How to Root Huawei Mate 8 on Nougat firmware with phh’s Superuser via TWRP

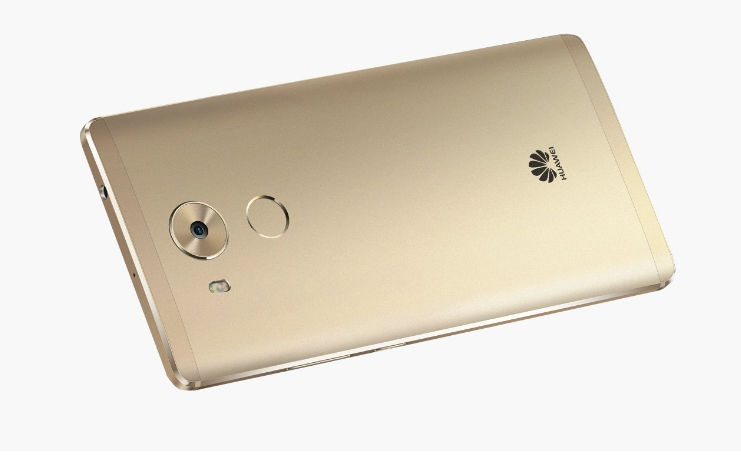
The Huawei Mate 8 is a high range Android phablet that was launched in late 2016 worldwide. The device was launched with Huawei’s very own EMUI 4.1 UI based on Android 6.0.1 Marshmallow in 2016. Later in 2017, the Mate 8 has been updated to Android 7.0 Nougat based on EMUI 5.0. Meanwhile, the phh’s SuperUser developer has come up with a rooting procedure for the same. The new root manager will seamlessly root your Huawei Mate 8.
Here is a rooting procedure which has been tested on many variants of the Huawei Mate 8 firmware including C636B521, C636B563, C432B560, AL10C00B577, and TL00C17B575. It involves a newer phh’s SuperUser package that will grant root access to other devices once installed. You will also need to unlock the bootloader first and setup a custom TWRP recovery. The procedure has been listed below and each link will redirect you to proper tutorials of bootloader and TWRP.
Warning: This is an unofficial procedure and has been tested on very few devices. It may or may not work on your device. Do keep a backup. Reader’s discretion is advised.
How to Root and install TWRP on Huawei Mate 8 on Android 7.0 Nougat?
The following procedure has been tested working on C636B521/B563, C432B560, AL10C00B577, and TL00C17B575. It may work with other variants as well.
Prerequisites
- Unlocked Bootloader is a must. You need to make a Huawei ID on your phone and stay signed in for 14 days and then visit here to unlock the bootloader
- Your device should be running Stock Android 7.0 Nougat.
- Stock Kernel with no modifications.
- Download latest TWRP Recovery for Huawei.
- Download phh SuperUser to successfully root Huawei Mate 8.
- You will also need the update_data_*.zip (You will need to find the file specific to your device based on Nougat firmware your device is currently running.)
Rooting Huawei mate 8 instructions:
- Make sure your Huawei Mate 8 has an unlocked bootloader.
- The first thing you need to do is flash the latest TWRP Recovery. See this Huawei specific tutorial to know how to setup TWRP.
- After installing a custom Recovery, reboot the device into TWRP mode. To do so, turn off the phone and hold Power + Volume Down.
- Now take a complete Nandroid Backup. Select all partitions.
- Later, it is important that you formatting data. Go to Wipe>Format Data>Yes.
- Now go home and tap “Install” and flash the superuser_noverify_nocrypt.zip.
- Again flash the update_data.zip using the same procedure.
- Reboot the device to system.
- Install phh SuperUser app from Google Play Store and update binaries. root.
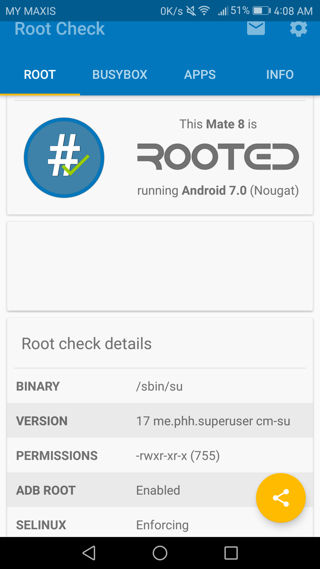
- Also, install root checker and check for root access.

Enjoy root on your Huawei Mate 8 device. Huawei Mate 8 is powered by a HiSilicon Kirin 950 Chipset with a 2.3Ghz octa-core processor. It has a Mali T880 GPU and comes either with a 3GB RAM and 4GB RAM variants. It has a 16MP rear camera with OIS and PDA and an 8MP camera on the front.


