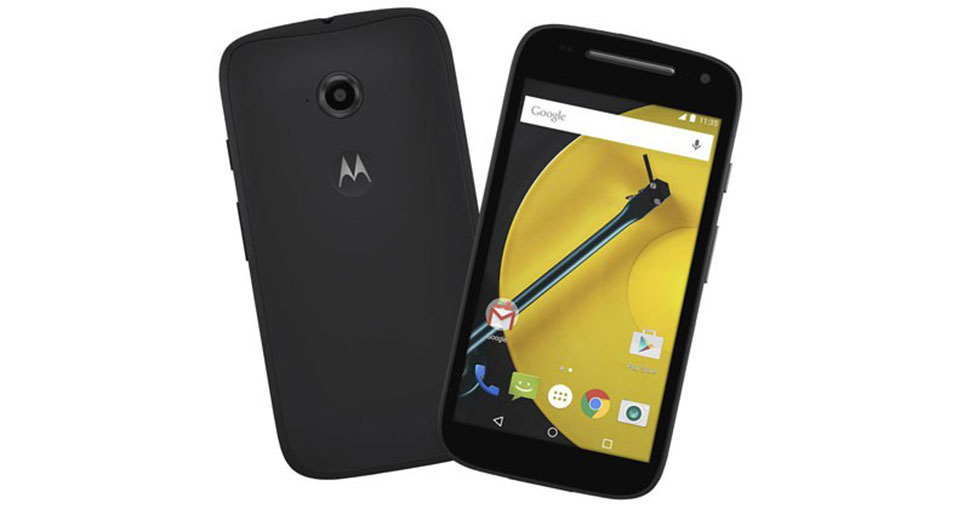
Install Moto E 2015 Android 6.0 Marshmallow Firmware Update

Finally, the official Marshmallow firmware files are now available for the for Moto E 2015 2 nd Gen. The firmware files for the variants XT1514, XT1521 and XT1523 are available that you will find in the download section below. More are coming, so stay tuned. These are stock firmware files that will take your device to Marshmallow and restore it to full stock. So, if for any reason you have not received the Marshmallow update over the air, then hit the download section below and verify your device from the list. We have listed full stock firmware files if you wish to restore stock firmware and revert all the changes made to the system. TWRP flashable zip files can be flashed using a custom recovery. TWRP is recommended.
We have listed full stock firmware files if you wish to restore stock firmware and revert all the changes made to the system. Unfortunately, we could not capture OTA for the devices like we did for the Moto G2 and G3. You can find it in the download section below.
Warning: The contributors at AndroidSage won’t be liable for any damage to your device whatsoever. A full backup is highly recommended just in case anything goes wrong. Reader’s discretion is advised.
Download Marshmallow For Moto E 2015
[sociallocker]
Full Stock Firmware for Moto E 2nd Gen.
Moto E 2015 XT1514 [SURNIA_RETBR]
→ Download | File: XT1514_SURNIA_RETBR_DS_6.0_MPI24.65-39_cid12_subsidy-DEFAULT_CFC.xml.zip
Moto E 2015 XT1521 [SURNIA_RETASIA]
→ Download [Mirror] | File: XT1521_SURNIA_RETASIA_DS_6.0_MPI24.65-39_cid7_subsidy-DEFAULT_CFC.xml.zip
Moto E 2015 XT1523 [SURNIA_RETBR]
→ Download | File: XT1523_SURNIA_RETBR_DSTV_6.0_MPI24.65-39_cid12_subsidy-DEFAULT_CFC.xml.zip
More Firmware Files
Full stock firmware for other Moto E variants→ Link
Mirror files for other Moto E → Link
Marshmallow firmware for Moto X 2014→ Link
Marshmallow firmware for Moto G2 & G3 → Link
Also see: How to capture latest OTA file for your Moto devices.
[/sociallocker]
How to Install Moto E 2015 Android 6.0 Marshmallow Update using Fastboot
Summary: Now, if you are planning to flash the full stock firmware, the go through this method. You will need the to connect your device to PC and setup ADB and Fastboot. Go through the requirements and instructions listed above carefully. Once you have setup ADB and Fastboot, extract the firmware file and open a command prompt or terminal there. Now, reboot to bootloader and flash the following things using the Fastboot commands. Now, depending on your phone firmware, the number of sparsechunk files may vary. So just make sure how many chunk files your firmware has before you flash the firmware. Now, remember, this will wipe your device and you will lose all your data. Hence, backup.
Prerequisites:
1. Verify your device for compatibility. The listed firmware is compatible with Moto E devices only.
2. Enable USB Debugging on your device. To do so, go to Settings>About Phone> Tap on the Build Number several times until you get a new Developer Options in theSettings. Open Developer Options and enable USB Debugging from there. Trust the connection by allowing it when you connect it to your PC for the first time.
3. Make sure you have latest device drivers setup on your PC for a better connection. Get it from the official page of your device manufacturer.
4. To be sure, fully charge your device as the process make take a while.
5. Get the quick ADB and Fastboot Installer from here or the full Android SDK from here. You may also like Universal ADB drivers, Naked ADB drivers.
Installation Instructions:
Step 1: Download the firmware file for Moto device. You don’t need to extract the file, just transfer the file to your PC where you can easily locate it.
Step 2: Make sure that you setup ADB and Fastboot on your PC. Trust the connection by checking “Always allow from this computer” when you plug in the device for the first time.
Step 3: Now turn off your device completely and unplug it from your PC.
Step 4: Boot your Android device into the bootloader or Fastboot mode. To do so, turn off your device and then press and hold volume down + the power button simultaneously for a few seconds. When you see the bootloader screen, connect your device to the PC using a USB cable.(Choose Fastboot if option is available) For an alternative method look at the end of this method.
Step 5: Navigate to the location where you have placed the OTA file on your PC. Rename the recovery file to a simple one, like ota.zip. While the folder with the ota.zip file is open, hold the shift key on the keyboard and right-click on an empty space and select “Open command window here” option to launch a cmd window.
Step 6: Now issue the following command in the command prompt to check your device connectivity. It should display device information.
fastboot devices
Step 7: Now flash the firmware by issuing the following command. (Note: Take care that you type the exact name with it’s proper extension. Also, use keyword- mfastboot or if it fails, then go with the keyword- fastboot)
mfastboot oem fb_mode_set
mfastboot flash partition gpt.bin
mfastboot flash bootloader bootloader.img
mfastboot flash logo logo.bin
mfastboot flash boot boot.img
mfastboot flash recovery recovery.img
mfastboot flash system system.img_sparsechunk.0
mfastboot flash system system.img_sparsechunk.1
mfastboot flash system system.img_sparsechunk.2
mfastboot flash system system.img_sparsechunk.3
mfastboot flash system system.img_sparsechunk.4
mfastboot flash system system.img_sparsechunk.5
mfastboot flash modem NON-HLOS.bin
mfastboot erase modemst1
mfastboot erase modemst2
mfastboot flash fsg fsg.mbn
mfastboot erase cache
mfastboot erase userdata
mfastboot erase customize
mfastboot oem config carrier vzw
mfastboot oem fb_mode_clear
Step 9: Once the firmware gets installed, reboot to system.
First boot may take a while. You can now enjoy your new firmware.
How to boot into bootloader or Fastboot mode using ADB
In order to boot into the bootloader, you can also issue the following command through your cmd or terminal while your device is connected to the PC. First setup ADB and Fastboot environment on your PC. Open cmd or terminal, issue the following command: In Linux, add “sudo” keyword in prefix.
adb reboot bootloader
How to boot into Stock Recovery using ADB
In order to boot into the stock recovery, you can also issue the following command through your cmd or terminal while your device is connected to the PC. First setup ADB and Fastboot environment on your PC. Open cmd or terminal, issue the following command: In Linux, add “sudo” keyword in prefix.
adb reboot recovery


