How to Enable Face Unlock feature on any Android device?
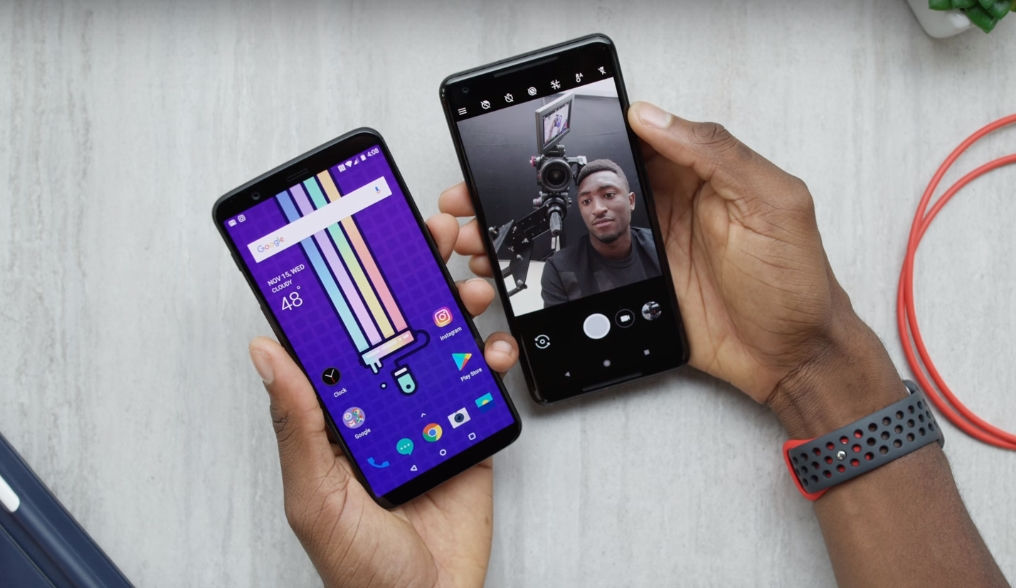
Smartphone manufacturers have been innovating and bringing various biometrics for smartphone security. This includes fingerprint scanner, Iris scanner, and the latest in trend is the facial recognition. The Face unlock feature was introduced in Android 5.0 Lollipop version and later called as Trusted face. It still exists in the latest 8.0 Oreo and has evolved to be the primary lockscreen feature. This features can mostly be found on phones with stock Android experience like Nexus, OnePlus, Sony, Essential Phones, etc. However, the option is hidden because it is not very secure.
The downside of Face Unlock is that the data it takes can be easily bypassed just by holding the phone in front of a similar looking face. In some cases, the Face Unlock may also be bypassed by just holding a picture of the phone user. Hence, it is termed less secure than the pattern, PIN, Fingerprint, or password unlock option. But it is worth a try and the chances of it happening are very low.
Now, many smartphone manufacturers are implementing various Biometrics for smartphone security. Such as the Iris scanner on Samsung Galaxy S8/S8+, Face Unlock on OnePlus 5T, Face detection on the iPhoneX, and much more. In this tutorial, we are going to show you how to enable this feature on your Android phone.
How to install Face Unlock feature on any Android phone without root?
Step 1: Ensure your device is running on Android 5.1 Lollipop or later. Try the latest Android 8.1 Oreo.
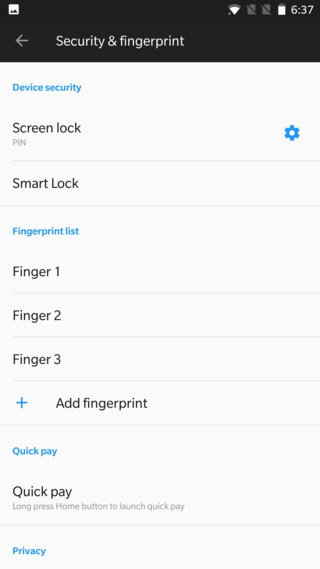
Step 2: Go to Settings > Security & Fingerprint. Depending in your phone manufacturer and Android version, the names may change. You can also search from the top right button.
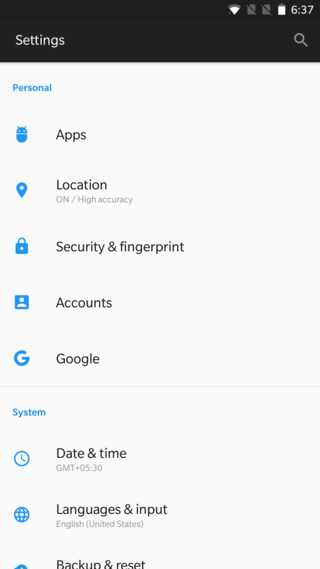
Step 3: Now from the Security option, choose Smart Lock option. Again, the option name may be different.
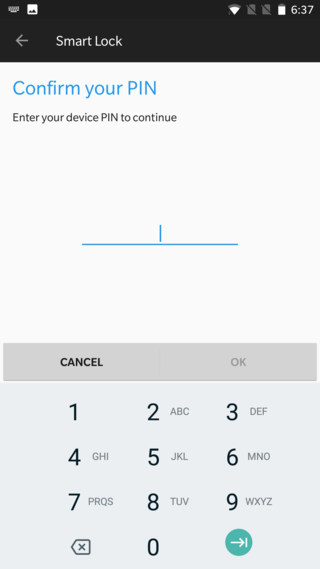
Step 4: It will ask for your unlock screen PIN or pattern. Input it and proceed.
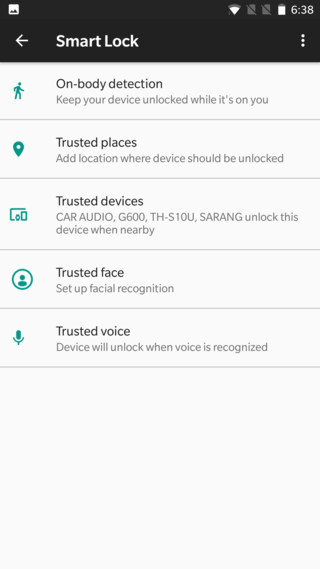
Step 5: Once into the Smart Lock, you will see a bunch of Biometrics options. Choose, Trusted face. This option will set the face unlock as your primary screen lock.
Step 6: Now follow the onscreen instructions to validate your face data.
Once done, the Trusted face will be the primary screen unlock feature alongside fingerprint, PIN, pattern, etc.
Image Credits: MKBHD


