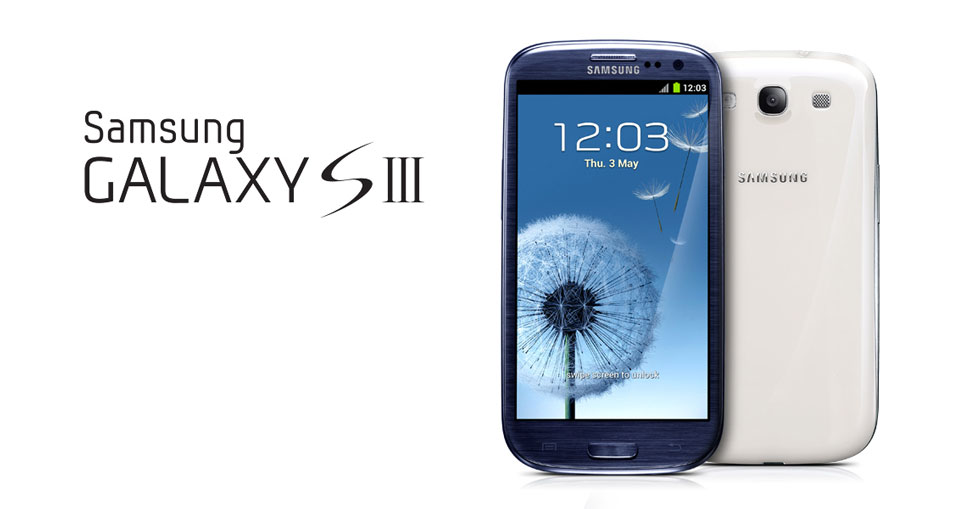
Update Samsung Galaxy S3 to Marshmallow with Official CM 13 on AT&T, Sprint, T-Mobile

The Samsung Galaxy S3 and many of its variants have been receiving the official CM 13 Nightly builds. It comes for the three US cellular devices namely, T-Mobile, Sprint, and AT&T. The Galaxy S3 won’t be receiving the official Marshmallow update from the manufacturer as it way past the support date for the devices. So now with CyanogenMod 13, you can make the most out of your smartphone. This is a great deal for the Samsung Galaxy S3 users who were eagerly waiting for the official Marshmallow CM 13 builds.
Download Marshmallow For Galaxy S3
- Official CyanogenMod 13 for Galaxy S3 AT&T
→ Download | File: cm-13.0-20160315-NIGHTLY-d2att.zip (318.79 MB) - Official CyanogenMod 13 for Galaxy S3 Sprint
→ Download | File: cm-13.0-20160315-NIGHTLY-d2spr.zip (318.79 MB) - Official CyanogenMod 13 for Galaxy S3 T-Mobile
→ Download | File: cm-13.0-20160315-NIGHTLY-d2tmo.zip (318.79 MB) - Marshmallow Compatible Google Apps:
→ Open Google Apps → Link | File: open_gapps-arm-6.0-stock.zip
→ Dynamic Gapps → Link | File: BaNkS-Dynamic-GApps-6.x.x-11-21-2015.zip - Flash SuperUser for Root Access
→ SuperSU v2.68 → Link | File: BETA-SuperSU-v2.68.zip
You may also like: Samsung Galaxy S7 Ringtones, UI & Notification Sounds and more Audio
Warning: Once you root or install a custom ROM, your warranty may be void. We at AndroidSage won’t be liable for any damage to your Android device. Reader’s discretion is advised.
Prerequisites
1. Verify your device before you proceed. The listed ROMS are compatible with Galaxy S3 for AT&T, Sprint, T-Mobile variants only.
2. Make sure you have a custom recovery installed on your device. Latest build from TWRP is highly recommended. Get the TWRP from our tutorial page.
3. Make sure you have latest device drivers setup on your PC in order to transfer the files to your device’s internal storage. Get it from the official page of your device manufacturer.
4. Fully charge your device as the process make take a while.
How to Update Samsung Galaxy S3 to Marshmallow with Official CM 13
Step 1: Download the ROM of your choice from above. Also, download the Android 6.0 Marshmallow compatible Google Apps from the above download section. If you are looking for root after installation, download the SuperSU package from the list.
Step 2: Transfer all the necessary files to you device’s internal storage or SDcard. Place the files where you can easily locate it.
Step 3: Now boot into TWRP recovery. To do so, turn off your device completely and then press and hold the power button and volume down key for a few seconds. Once you see the TWRP logo, that means you have successfully booted into the recovery. Alternatively, if you have rooted device, then use Android apps like the Quick boot or Boot Smart.
Step 4: Once into TWRP, take a Nandroid backup. To do so, tap Backup option and select all the partitions including the system, data, boot, recovery, EFS and cache(optional).
Step 5: Now wipe the current system. To do so, return to home screen and tap the Wipe option in TWRP. Tap Advanced Wipe and select partitions like system, boot, data, cache, Dalvik cache. Do not, in any case, select internal storage, unless you know what you are doing.
Step 6: Now return to the home screen again and tap Install option. Navigate to the ROM file from your internal storage and select it.
Step 7: Now swipe right on the confirmation action button below to install the ROM.
Step 8: Once installed, go back and select the compatible Google apps zip file from the location in your internal storage.
Step 9: Once selected, swipe right on the confirmation action button below to flash them.
Step 10: Once installation completes, you can wipe the Dalvik cache or simply choose reboot to system option.
Step 11: Once you reboot, you should see the new boot logo. This means that the ROM has been installed successfully. First boot may take a while. If the ROM doesn’t boot or you come across boot loop, a factory reset from the recovery should do the trick. If that fails, you can restore your previous ROM from the TWRP recovery.
Follow and share us on social media. If you need any help, then comment down below.


