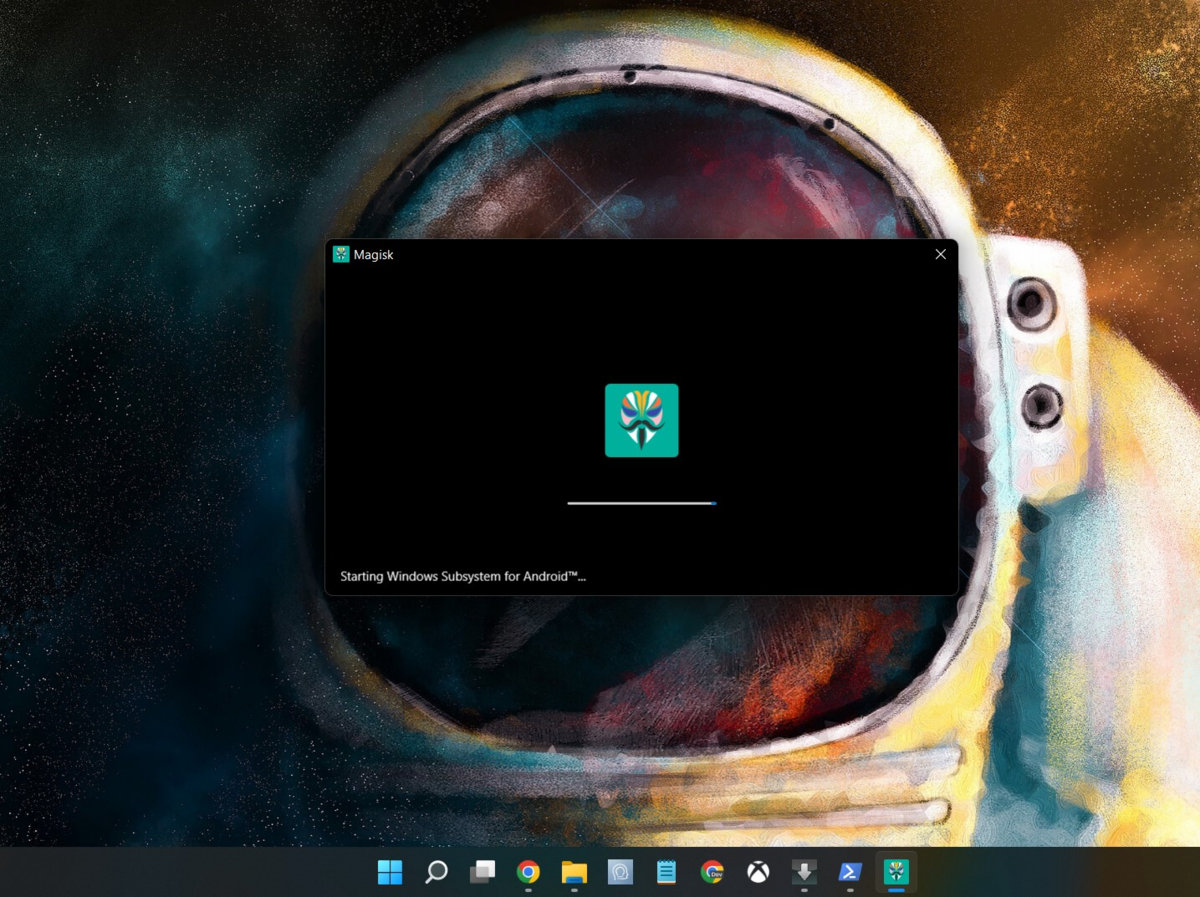
Update: The MagiskOnWSA project has been temporarily disabled. You can use the MagiskOnWSALocal by the same developer for now.
Original: Windows Subsystem for Android (WSA), as the name suggests, is a Windows application that enables users to run Android apps. WSA is similar to an Android emulator but is native to Windows 11 so it guarantees performance, responsive, and runs Android apps as native Windows programs. In the last article, we showcased how to install the original WSA on Windows 11. In this tutorial, we will show you how to download and install Windows Subsystem for Android with Magisk root and Google Play Store based on Android 12.1/12L.
The original Windows Subsystem for Android does not come with Google Play Store. This is because WSA comes in collaboration with Microsoft and Amazon App Store. However, due to the openness (open source nature) of Android, developers like LSPosed and John Wu have managed to modify the latest build of WSA with integration for Magisk and Open Gapps. This means you can now root and install Play Store on Windows Subsystem for Android!
Just recently, WSA also got updated to Android 12.1, a.k.a Android 12L. It comes with build 2204.40000.19.0. You can read all about it on Microsoft’s blogpost about WSA.
In this tutorial, we will show you how to build your own WSA with Magisk and Open Gapps and install on any Windows 11 build including the stable, RC, beta, production build.

Download Windows Subsystem for Android with Magisk and Gapps
Ideally, you need to build your own WSA with Magisk and Gapps from the MagiskOnWSA or MagiskOnWSALocal project by LSPosed. If you want any customizations, you can do so while building the WSA root package. Like if you want to skip Magisk (root access) or want to install Open Gapps with all the Google apps you can choose pico, nano, mini, micro, and more.
Ready to install WSA (Android 12.1) with Root and Open Gapps
Alternatively, we have done all the hard work for you and you can simply download the WSA Root and Gapps zip here and skip the building part.
Note: x64 is ideal for all Windows 11 PCs with Intel or AMD processors or chipsets. The second build is for arm PCs like Surface Pro X, Samsung Galaxy Book Go, Lenovo Flex 5G, Acer Spin 7, HP Elite Folio. You can also install Windows 11 on smartphones now.
- WSA (Android 12.1) with Root and Gapps (x64) | Telegram Link | AFH Mirror
- WSA (Android 12.1) with Root and Gapps (arm64) | Telegram Link | AFH Mirror
Once the download completes, head over to the WSA installation part.
How to build Windows Subsystem for Android with Root and Google Play?
Before you begin:
- If you already have a MagiskOnWSA installation, this guide will automatically uninstall the existing version and update it while retaining all userdata.
- However, if you have an official WSA installation – the Amazon store one, you should uninstall it first.
- If you want to backup data, visit the following location on your PC:
%LOCALAPPDATA%\Packages\MicrosoftCorporationII.WindowsSubsystemForAndroid_8wekyb3d8bbwe\LocalCache\userdata.vhdx
- Later restore it at the same location.
Let’s start the tutorial!
1. Enable Virtual Machine Platform (skip if already done)
- Click on Start.
- Search for Turn Windows features on or off. Click on the first option.
- Scroll down and search Virtual Machine Platform.
- Checkbox and click OK.
- Restart Windows.
2. Install Microsoft UI Xaml 2.6+ (skip if already done)
The Microsoft UI Xaml includes the framework to run Windows Subsystem for Android. It comes pre-installed on Windows Insider builds – Beta and Dev Channel. For stable Windows 11 device, you will need this app.
Otherwise, you will get an error while trying to install WSA similar to this:
Windows cannot install package MicrosoftCorporationII.WindowsSubsystemForAndroid_1.7.32815.0_x64_8wekyb3d8bbwe because this package depends on a framework that could not be found. Provide the framework “Microsoft.UI.Xaml.2.6” published by “CN=Microsoft Corporation, O=Microsoft Corporation, L=Redmond, S=Washington, C=US”, with neutral or x64 processor architecture and minimum version 2.62108.18004.0, along with this package to install. The frameworks with name “Microsoft.UI.Xaml.2.6” currently installed are Windows cannot install package MicrosoftCorporationII.WindowsSubsystemForAndroid_1.7.32815.0_x64_8wekyb3d8bbwe because this package depends on a framework that could not be found. Provide the framework “Microsoft.UI.Xaml.2.6” published by “CN=Microsoft Corporation, O=Microsoft Corporation, L=Redmond, S=Washington, C=US”, with neutral or x64 processor architecture and minimum version 2.62108.18004.0, along with this package to install. The frameworks with name “Microsoft.UI.Xaml.2.6” currently installed are: {}
Steps to install Microsoft UI Xaml:
- Launch a browser.
- Visit the website – rg-adguard.net
- Then change the first option to ProductID.
- Paste
9P3395VX91NRin the search bar. - Change the channel to RP.
- Click on the ✅ button.
- Let it generate the list of files.
- Download the following file from the list
Microsoft.UI.Xaml.2.6_2.62112.3002.0_x64__8wekyb3d8bbwe.appx
Make sure to download the x64 version. The version may change with time.
- Double click the file once it gets downloaded.
- Install the file
- You are now ready to install WSA

3. Building Windows Subsystem for Android using Magisk on WSA Github project
- Visit MagiskOnWSA (disabled) Use -> MagiskOnWSALocal project page on Github.
- Create a Github account if you haven’t already.
- Fork the repo from top right corner. (keep it PUBLIC, private repo is not supported)

- Give it a name and description or keep it default.
- Go to the Action tab in your forked repo.

- On the left sidebar, click the Build WSA workflow.

- Above the list of workflow runs, select Run workflow.
- On the drop down menu, select Magisk and select the OpenGApps variant.
- Here, you can customize Magisk, Gapps and architecture (x64) is for Intel and AMD. If you want to skip root or Gapps, just select none in the tab.
- Again, click Run workflow at the bottom.
- Wait for the action to complete. This may take a while.

- Once the workflow shows Success, scroll down to Artifacts.
- Download the artifact. If it fails to download via chrome browser, use XDM (Xtreme Download Manager)

- The Artifact will show 1.98 GB, but the actual download will be around 900 MB because it is compressed.
How to Install WSA on Windows 11?
The WSA zip could be named something like WSA-with-magisk-GApps-pico_2204.40000.19.0_x64_Release-Nightly.zip. The build 2204.40000indicates it is Android 12.1/12L.
Here is how to install:
- Extract or Unzip the artifact (WSA zip)
- Right-click
Install.ps1and selectRun with PowerShell
- This should install WSA with Magisk and Play Store immediately.
- Search Android and the first option should be Windows Subsystem for Android.
- Launch it.
- Go to Developer Tab and enable Developer Mode.
- Search Play Store, launch it, sign in, and install any Android launcher (Nova, Action, Lawnchair).
Video Tutorial
Before you go, see these important tutorials:
- How to install any Android app on WSA (the easy way)
- Windows 11 Available To All Windows 10 PCs | Check Eligibility Now!
- Download Latest Windows 11 ISO
- How to install Windows 11 on your Mac
- Download Latest Universal Media Creation Tool Wrapper For Windows 11 | No Setup Checks
Android Apps to Install on Windows 11
Here are some must-have apps to install on Windows 11.
- Install wsa-toolbox (Direct link -> WSAToolbox.exe) and install any APK.
- Aurora App Store | Direct Download link | F-Droid store listing
- F-Droid FOSS App Store
- TapTap Store for Android Games | Direct APK Download Link
- Latest Stable Nova Launcher 7 APK Download



![Download BGMI 3.1.0 APK + OBB [Battlegrounds Mobile India 3.1]](https://www.androidsage.com/wp-content/uploads/2022/07/Battlegrounds-Mobile-India-2.1.0-APK-Download-BGMI-2.1-APK-and-OBB.jpg)

![Download GCAM 8.4 APK For All Samsung Galaxy Devices [Exynos and Snapdragon]](https://www.androidsage.com/wp-content/uploads/2022/04/GCAM-8.4-APK-Download-For-Samsung-Galaxy-Devices-Exynos-and-Snapdragon.jpg)

![Nothing OS 2.5.5 OTA for Phone 2a rolling out with updated camera and April 2024 Patch [Download] 12 Nothing OS 2.5.5 OTA for Phone 2a rolling out with updated camera and April 2024 Patch [Download]](https://www.androidsage.com/wp-content/uploads/2024/04/Downlaod-Nothing-OS-2.5.5-rolling-out-for-Phone-2a.jpg)

Leave a Reply