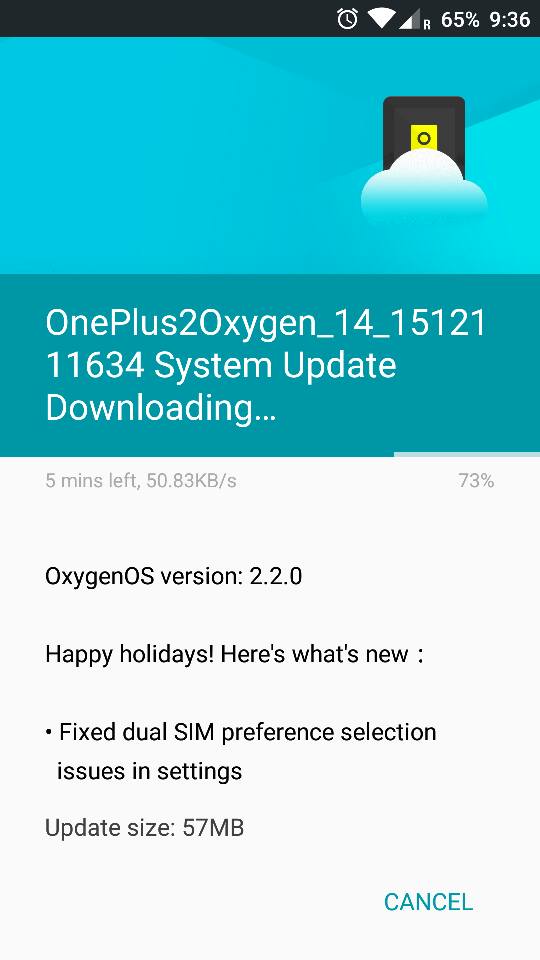
A new incremental update has been rolling out for the OnePlus 2 for it’s remarkable Oxygen OS that comes as a stock firmware for the device. Following the version 2.1.2, the Oxygen OS has now been updated to v 2.2.0 with some stability improvements and bug fixes. One of the major fixes is the dual SIM selection issues in the settings.
Here we are with the incremental OTA update for Oxygen OS that can be manually installed on your device. First go to Settings>About Phone> Tap the Software Updates option and check for updates. If you have not received the update over the air, then follow the instructions given below and your device should be updated.
Currently, OTA update for Oxygen OS 2.2.0 is available and the full ROM zip will be updated soon. Make sure that you have the v2.1.2 as your base firmware number. Once you have that you are all set to apply the updates with stock recovery.

Download Section:
Oxygen OS v2.2.0 OTA | File: OnePlus2Oxygen_14_OTA_010-011_patch_1512111634.zip
Oxygen OS v2.1.2 Full ROM (This is the base for 2.2.0 OTA) File: OnePlus2Oxygen_14_OTA_010_all_1511091726.zip
How to Install Oxygen OS 2.2.0 OTA Update on OnePlus 2 Using Stock Recovery
Step 1. Before you proceed, make sure you have installed the base update prior to v2.2.0. That means make sure you have Oxygen OS v2.1.2 as you current firmware version.
Step 2. Now download the Oxygen OS 2.2.0 OTA zip file from the downloads and transfer it to your phone’s internal storage.
Step 3. Now boot your OnePlus 2 into Recovery Mode. To do so, turn off your device completely and then press and hold the power button and volume down key for a few seconds. Select Recovery if an option is available to get into stock recovery mode.
Step 4. Once into the Stock Recovery Mode, Select Apply Updates from phone’s storage and then navigate to the OTA zip file and select it.
Step 5. Confirm the operation and the installation process will begin updating your OnePlus 2. This may take a few minutes.
Step 6. When the installation completes, it will automatically reboot. If not, go back and reboot manually.
If this procedure fails for you, then you can try the TWRP method. However, you will need the full ROM file and not just the OTA zip file. If you happen to choose the second method given below, then a backup is highly recommended as going through this process may remove all your apps, data, system and more. Though it won’t remove internal storage. Hence, a backup or Nandroid backup is highly recommended.
How to Install Oxygen OS 2.2.0 Full ROM Update on OnePlus 2 Using TWRP Recovery
Go through this process only if you have a full ROM. Incremental OTA may not work with this. Take a look at the requirements given below.
Prerequisites
1. Verify your device before you proceed. The listed Oxygen OS is compatible with only OnePlus 2.
2. Make sure you have a custom recovery installed on your device. Latest build from TWRP is highly recommended.
3. Make sure you have latest device drivers setup on your PC in order to transfer the files to your device’s internal storage. Get it from the official page of your device manufacturer.
4. Fully charge your device as the process make take a while.
Installation Instructions
Step 1: Download the latest Oxygen OS Full ROM zip file from the download section.
Step 2: Transfer all the necessary files to you device’s internal storage or SDcard. Place the files where you can easily locate it.
Step 3: Now boot into TWRP recovery. To do so, turn off your device completely and then press and hold power button and volume down key for a few seconds. Once you see the TWRP logo, that means you have successfully booted into the recovery. Alternatively, if you have rooted device, then use Android apps like Quick boot or Boot Smart.
Step 4: Once into TWRP, take a Nandroid backup. To do so, tap Backup option and select all the partitions including the system, data, boot, recovery, EFS and cache(optional).
Step 5: This step is optional. However, you may need to wipe system and data if the ROM doesn’t update. Now wipe the current system. To do so, return to home screen and tap the Wipe option in TWRP. Tap Advanced Wipe and select partitions like system, boot, data, cache, dalvik cache. Do not in any case select internal storage, unless you know what you are doing.
Step 6: Now return to home screen again and tap Install option. Navigate to the ROM file from your internal storage and select it.
Step 7: Now swipe right on the confirmation action button below to install the ROM.
Step 8: Once installed, go back and select the compatible Google apps zip file from the location in your internal storage.
Step 9: Once selected, swipe right on the confirmation action button below to flash them.
Step 10: Once installation completes, you can wipe the Dalvik cache or simply choose reboot to system option.
Step 11: Once you reboot, you should see the logo. This means that the ROM has been installed successfully. First boot may take a while. If the ROM doesn’t boot or you come across boot loop, a factory reset from the recovery should do the trick. If that fails, you can restore your previous ROM from the TWRP recovery.
Like and share us on social media. If you need any help, then comment down below. Also See: Get CM 13 on Your Android Device


![Download BGMI 3.1.0 APK + OBB [Battlegrounds Mobile India 3.1]](https://www.androidsage.com/wp-content/uploads/2022/07/Battlegrounds-Mobile-India-2.1.0-APK-Download-BGMI-2.1-APK-and-OBB.jpg)


![Download GCAM 8.4 APK For All Samsung Galaxy Devices [Exynos and Snapdragon]](https://www.androidsage.com/wp-content/uploads/2022/04/GCAM-8.4-APK-Download-For-Samsung-Galaxy-Devices-Exynos-and-Snapdragon.jpg)


![Nothing OS 2.5.5 OTA for Phone 2a rolling out with updated camera and April 2024 Patch [Download] 9 Nothing OS 2.5.5 OTA for Phone 2a rolling out with updated camera and April 2024 Patch [Download]](https://www.androidsage.com/wp-content/uploads/2024/04/Downlaod-Nothing-OS-2.5.5-rolling-out-for-Phone-2a.jpg)
Leave a Reply